New software aims to speed up verification of as-built assets

Laing O’Rourke has been working with software firm Offset Services on laser scanning technology to improve and accelerate the as-built verification process.
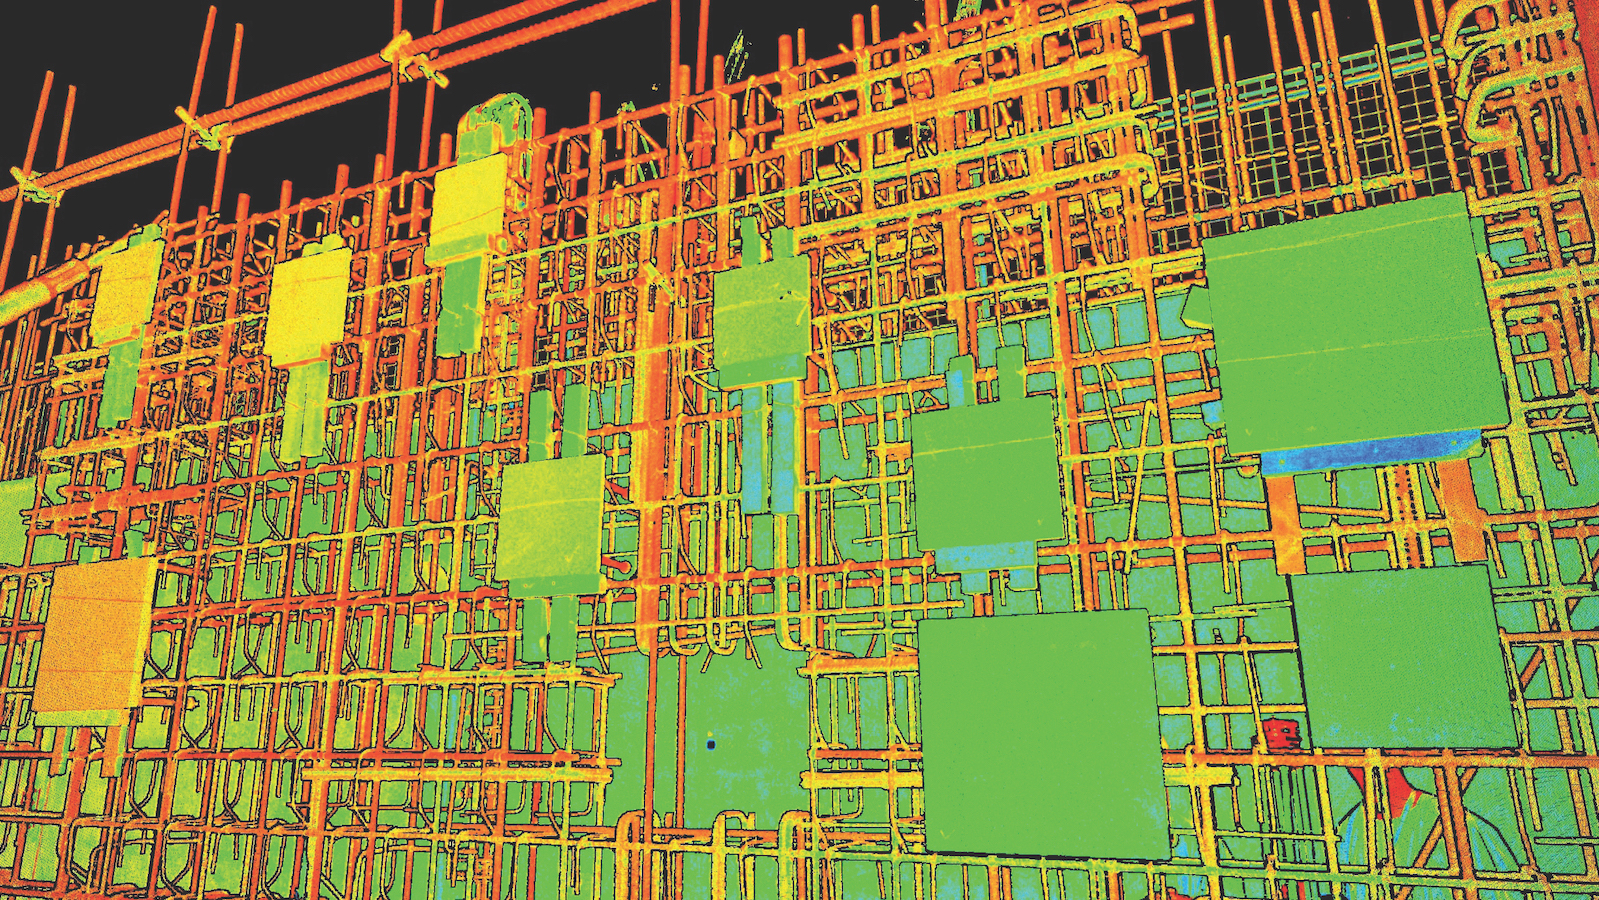
The Offset software processes point cloud data from laser scans to auto-detect the locations of built assets and has been trialled at Hinkley Point C on concrete embeds.
Gavin Pailing, managing director of Offset Services, provides context. “Concrete embeds are cast in features such as wall plates, which we’re focusing on with this study, which provide a secure welding point for equipment,” he says. “Prior to the concrete pour, embeds are usually attached to the reinforcement cage. The shuttering is then installed, the concrete poured, allowed to cure, then the shuttering is removed and the embed cleaned up.

“The point cloud image of each wall plate is in 3D so the user can select, lift up and rotate the image to allow enhanced inspection of the asset”
“But the embeds can move during the pour. Checking and putting this right is a long process, with surveyors having to work from paper drawings, manually measure the embeds’ positions, and record results on spreadsheets. This
can cause project delays.”
The AROPCQA trial aimed to make this process more efficient, using laser scans to create a point cloud of the built assets – the wall plates – and software to auto-check this data.
The technology used was a Leica RTC360 laser scanner, a Leica TS16 Total Station, a Leica Cyclone Register (for registering and geo-referencing laser scan data), while Offset’s Magan application processed the data.
“The workflow comprised the site scan, point cloud registration, E57 export [a special file format] of the point cloud data, then the embed verification,” says Pailing. “For the verification, the auto detection is subjected to a manual check loop – it is critical we have the human check to fall back on.”
The process was tested at Hinkley Point C in September 2019. A 300m section of a service tunnel was used for testing, with 252 wall plates and 39 scan locations.
“The point cloud created comprised seven billion points and clearly showed the wall plates,” says Pailing. “The data also showed the user information about the wall plates positions, including displacements relative to the design. The system knows what the tolerances are and so drew the user’s attention to compromises of that tolerance, which are recorded in a report.
“The point cloud image of each wall plate is in 3D so the user can select, lift up and rotate the image to allow enhanced inspection of the asset.”
Pailing reports that using laser scanning with the automated algorithms developed on the project was “accurate”, and “seven times faster” than traditional survey methods. “Manual correction is intuitive and quick thanks to compelling visual information, that the user can make informed decisions from,” he says.
Next steps are to deploy the technology in a larger project environment and test more embed types, Pailing adds.


